Creating content from the comfort of your home has never been easier. Whether you’re an aspiring YouTuber, a freelance photographer, or a budding filmmaker, having a home studio can elevate the quality of your work. However, setting up a studio may seem daunting, especially if you’re on a tight budget. Fear not! You can achieve professional-looking results without breaking the bank with a little creativity and resourcefulness. Here’s how:
1. Assess Your Space
Before purchasing equipment, take a good look at the space you have available. It could be a spare room, a living room corner, or even a well-lit garage. Assess the natural light sources and determine the best layout for your studio setup. Maximizing your space efficiently can save you unnecessary expenses down the line.
2. Utilize Natural Light
Natural light is your best friend in photography and videography. Use this free and beautiful light source to position your setup near windows or doors. You can even use sheer curtains or diffusers to soften harsh sunlight and create a flattering glow for your subjects.
3. DIY Lighting Solutions
If natural light isn’t sufficient or available, don’t worry! You can create DIY lighting solutions using inexpensive materials. Paper lanterns, desk lamps, or even string lights can be affordable alternatives to professional studio lights. Experiment with different angles and distances to achieve the desired lighting effects for your projects.
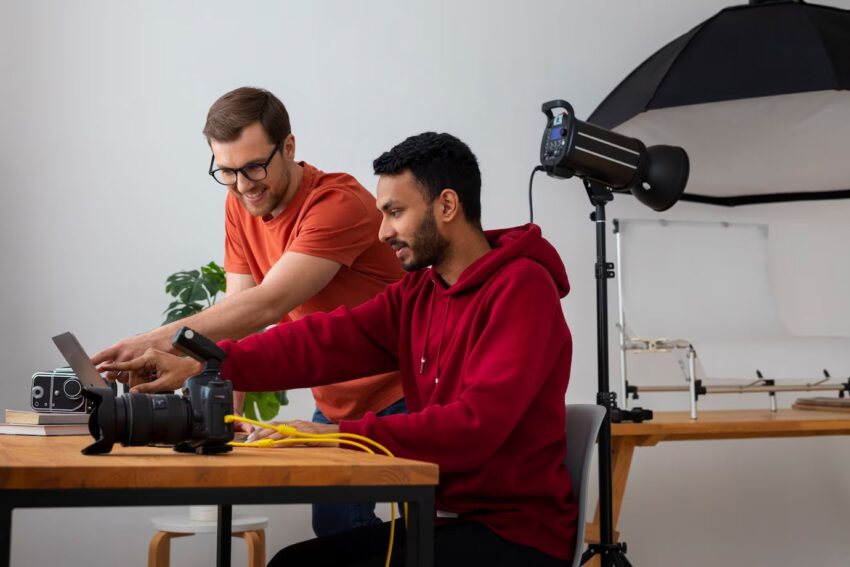
4. Invest in Key Equipment
While saving money where you can is essential, investing in key equipment is crucial for achieving professional results. Consider purchasing a good-quality camera or webcam, a tripod, and a microphone. These items can significantly enhance the overall quality of your content without breaking the bank.
5. Get Creative with Backdrops
Creating visually appealing backdrops doesn’t have to cost a fortune. You can use bedsheets, fabric, or even large pieces of paper to create customized backgrounds for your videos or photos. Experiment with different colors, textures, and patterns to add visual interest to your content.
6. DIY Soundproofing
If you’re recording audio, minimizing background noise is essential for producing high-quality sound. You can easily DIY soundproofing solutions using household items such as blankets, pillows, or foam panels. Hang these materials on the walls or place them strategically around your recording area to absorb unwanted noise.
7. Repurpose Household Items
Don’t underestimate the power of repurposing household items for your studio setup. A stack of books can serve as a makeshift tripod or a sturdy base for your camera. A plain wall can double as a clean backdrop for portraits or product photography. Get creative and think outside the box!
8. Learn Editing Skills
Even with limited resources, you can enhance the quality of your content through editing. There are plenty of free or affordable editing software options available online that offer robust features for both beginners and advanced users. Take the time to learn basic editing techniques to polish your videos or photos further.
Create Big on a Small Budget
Setting up a home studio on a shoestring budget may require some extra effort and creativity, but the results are well worth it. You can achieve professional-looking content without breaking the bank by utilizing natural light, DIY solutions, and repurposing household items. Remember, it’s not about the equipment you have but how you use it to tell your story. So, roll up your sleeves, get creative, and start creating big on a small budget!